
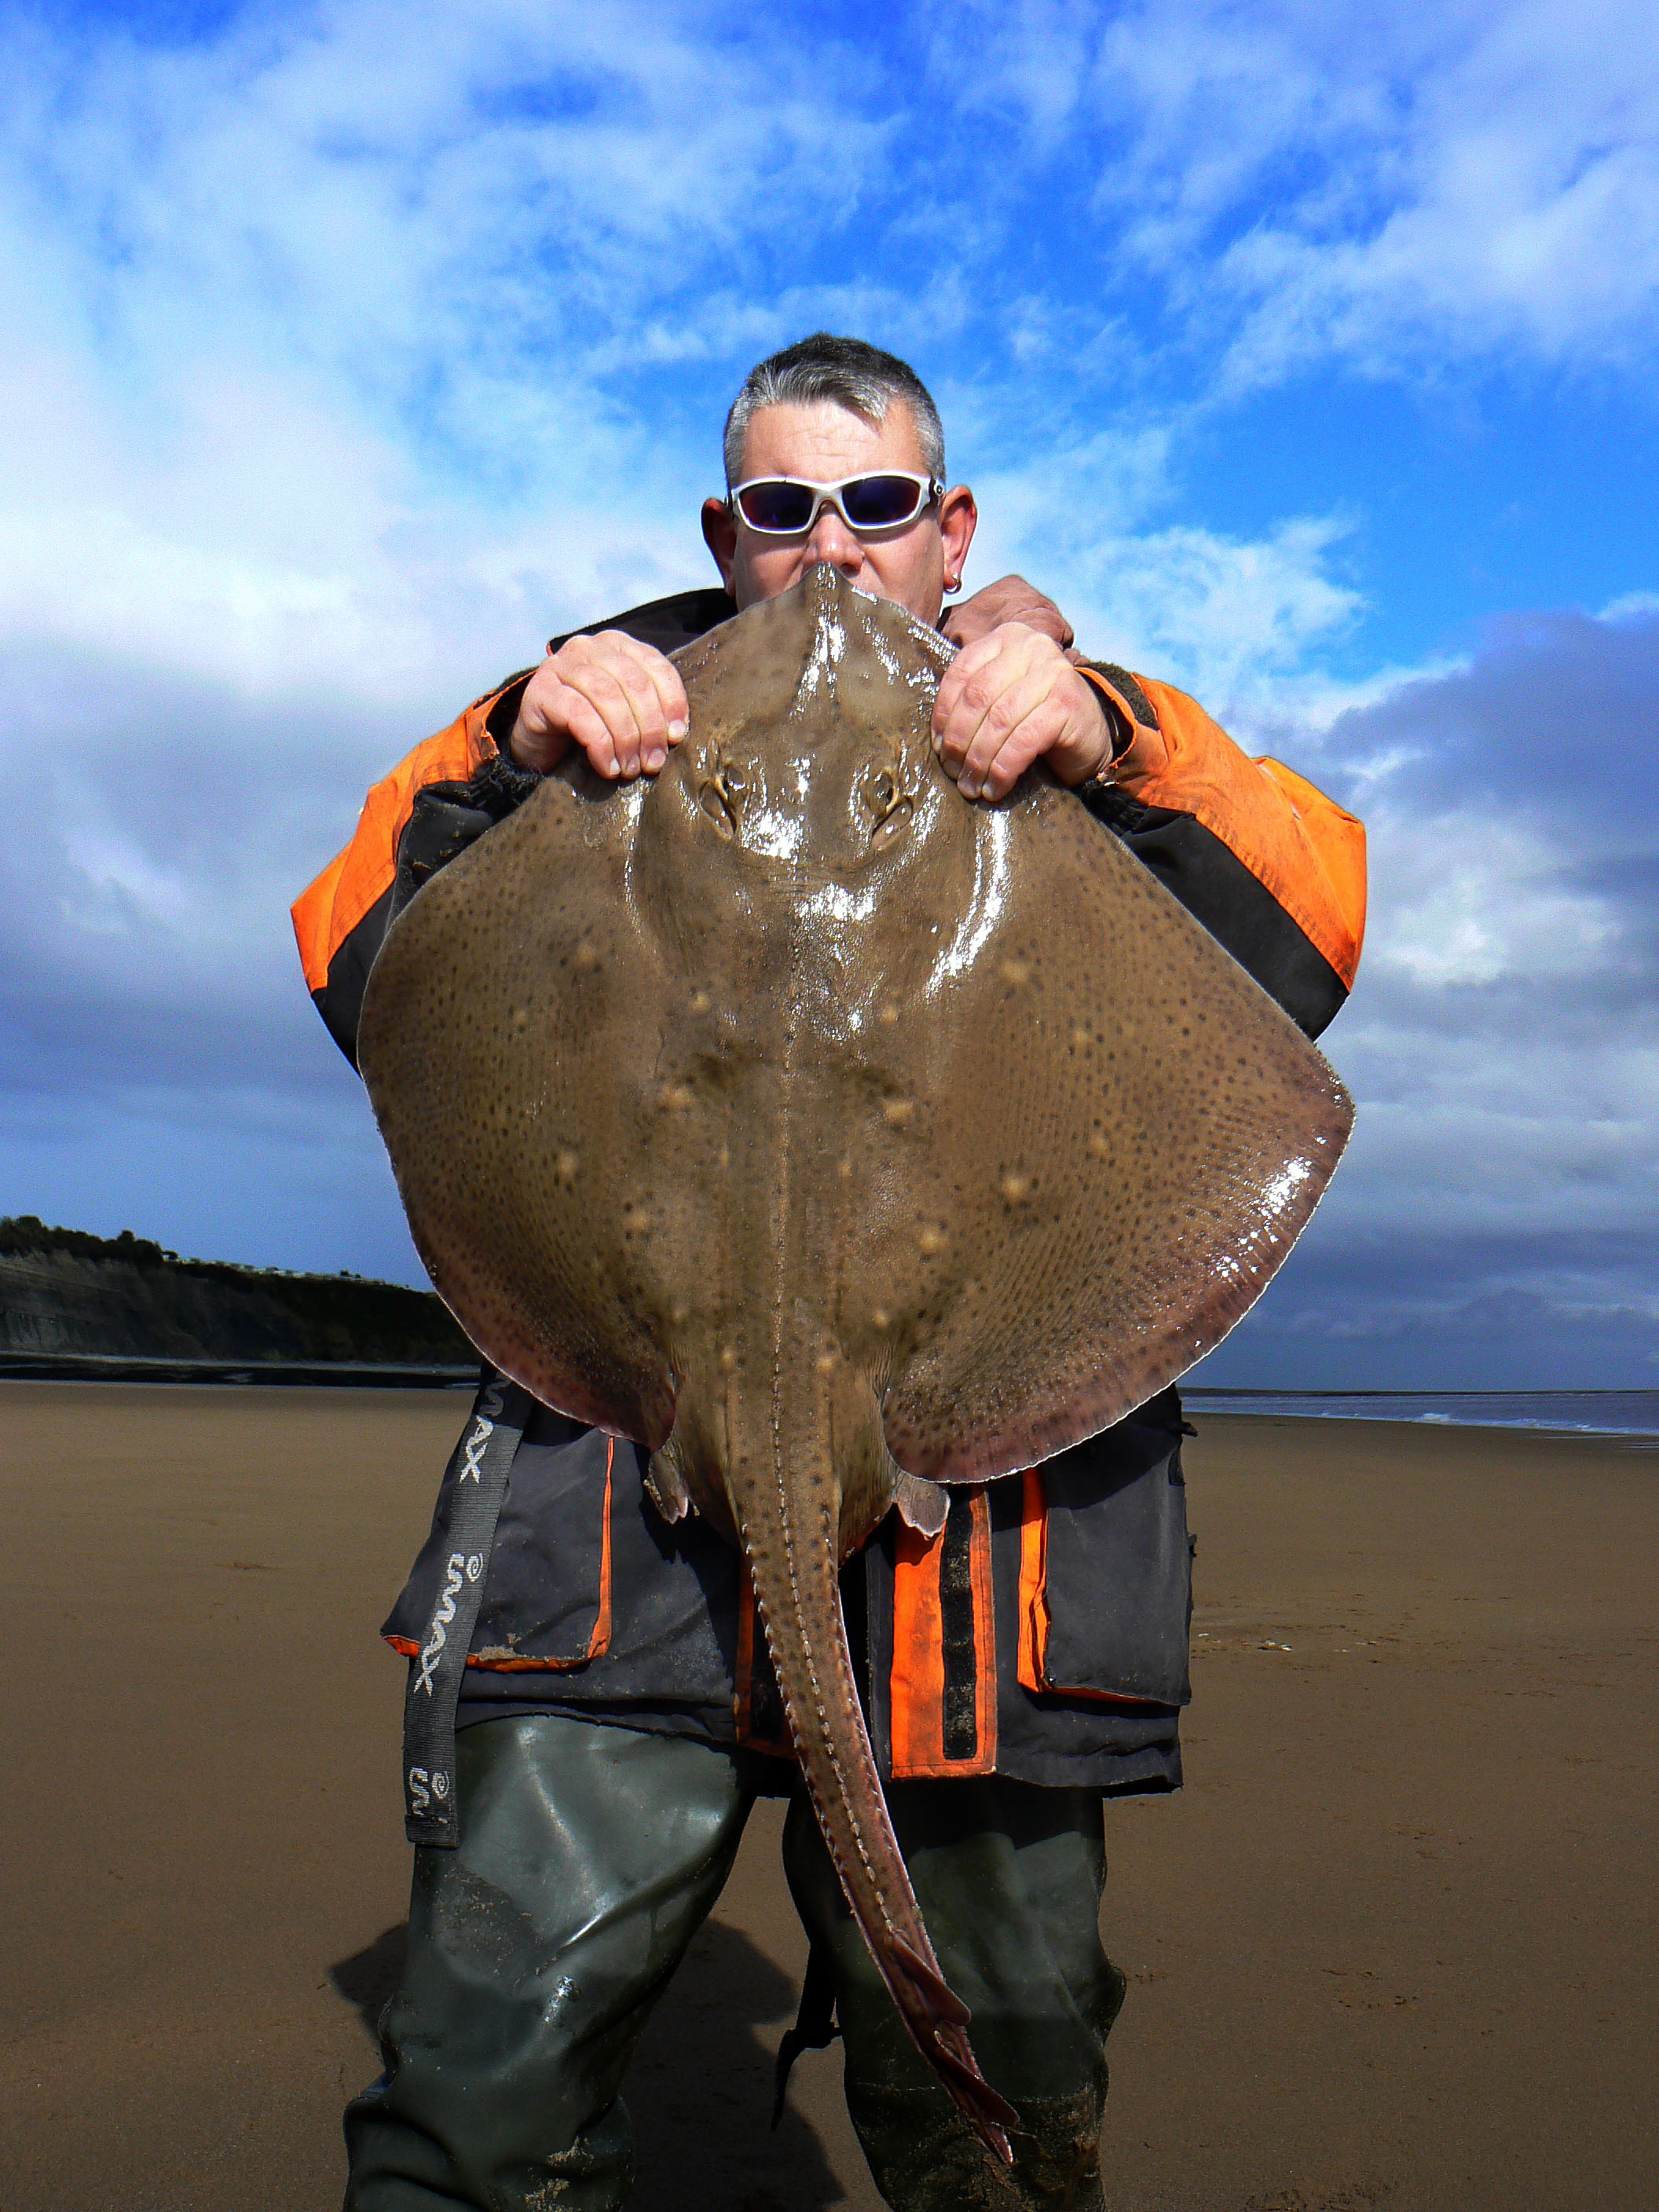
It has reached the time of year when the pollack will return to the rockmarks of Clare and we will once again target them with soft plastics and spinning gear. I have been asked by a few people to demonstrate some of the more basic methods we use to target pollack from the shore.
As usual I am not claiming these are the correct or only methods to catch fish but anything I show has been proven to take fish on a regular basis. Do not be afraid to experiment or alter the methods we use to suit your own needs or if you have something of value to add let me know and I will credit you with the idea.
The most widely used method for pollack fishing off the rocks into kelp beds and snaggy ground is a straight forward retrieve of a jellyworm, imitation sandeel or a fresh frozen sandeel weighted with a barrel lead.
 Start off with three or four feet of line, I like to use 50 or 60 lb Sakuma rig body. Others use fluorocarbon but my own experience of it is that it doesn’t like to be dragged through rocks and it gets wind knots very easily which firstly are very difficult to get out and if left in weaken the line.On to this tie a swivel or rig clip. I have a rig clip tied to the leader of my spinning reel as I find it quicker and easier to change lures using this set up

Once the swivel has been tied on a knot protecting bead is then slid on followed by a barrel lead. These are available in many weights up to about three ounces. Obviously the heavier the weight the deeper the jellyworm will stay during the retrieve. A second bead protects a crimp which holds the lead close to the swivel. Be careful not to pinch the line too hard when crimping as this will weaken the line and a big crash diving pollack will test the quality of your rig tying.
 Bullet leads can be tied in exactly the same manner and will do the same job. They do not seem very popular here and I wonder if their slightly wider profile can snag more often in the snaggy ground the pollack inhabit.
 Once the weighted end is taken care of all that remains is the business end. I like to use a 3/0 Varivas Salt water champion. They are not made from the same heavier gauge steel as the big mouth or big mouth extra and if the hook gets snagged it may be possible to bend the hook out. It is much easier just to replace a hook than a complete rig. If you do get snagged and retrieve the rig care must be taken to check the swivel for damage and the line for nicks and signs of abrasion, you never know if the next pollack to hit it will be ten pounds. when tying the hook I like to leave a short tag end of line coming from the hook. this helps keep the lure in place and stops it slipping back down the shank of the hook.
Once your rig is tied you are ready to put on your lure. One of the most effective methods and a constant fish taker is simply to thread on a natural sandeel head first so the hook come out half way down its back and whip it on with bait elastic.
More convenient is any one of the soft plastic or rubber lures. Among the most successful for me are the storm wild-eyed sandeel in pearl holographic or the generic black firetail jelly. I am pinning my hopes on the Savagear sandeel slug this year and hope to give them a thorough testing.
Rigging the plastics can be a simple affair or slightly more complicated if you wish it to be. I have seen the basic through the head hooking work very well but pollack like many predatory fish just engulf their prey. using the hook through the head tends to result in a lot of ‘plucks’ before the final engulf. This method of hooking can give a more natural movement of the lure

A more reliable method is to thread the shank of the hook. By laying your lure next to the hook you can estimate where the bend of the hook will come out through you lure, in this case a jellyworm
 Thread the hook through the top of the worm head and thread through the body and bring it out where the worm sits comfortably on the bend on the hook. the head of the worm should be slid over the eye of the hook and the small tag end of line off the knot to keep it in place during the repeated casting. I will cover a more accurate methods of calculating where the hook should come out later.
 This rig is generally cast out and straight retrieved by simple reeling in or fished sink and draw style. some times ‘stripping’ which is winding as quickly as possible will induce takes from reluctant fish. Some counting down can be used after the cast to determine the depth of the fish but more often than not you will feel the lure snagging kelp or reef on the way in. For much of the time here in Clare if you are not dragging snags you aren’t where the fish are.
Jigheads or leadheads as their name implies are weighted hooks which come in many designs and weights but popular styles include sandeel or fish shapes or a simple ball shape moulded to the eye end of the hook. they are used to give casting weight to a soft plastic, to give weight to make the soft plastic sink and in some cases to give action on the retrieve. They can be tied or clipped on to you leader and away you go, cast and retrieve.
The savagear sandeel slug has an air bubble trapped inside it, simply hooked through the head it will float but if it is fitted with a jig head it can be made to stand up on the bottom and dance and dart its way in on the retrieve.
 Although the detail of the eyes and head are very appealing they will not help the sandeel sit firmly on the jighead so the first thing I do is to cut back the plastic until a nice square shoulder is left for mounting on the hook
 As the position of where the bend of the hook comes out of the back of the slug if you cannot gauge by eye the distance you can line the head of slug up with its final position on the hook and mark with a pen where it should come out. With very little practice this becomes unnecessary
 You are then ready to thread the slug onto the hook. start with the body of the slug parallel to the shank of the hook

Feed the slug gently around the hook until the point of the hook meets the mark you drew on earlier then push the hook out through the slug body
 At this stage some people put a spot of superglue on the cut end to secure it to the head of the jig. I have never found this necessary as the mouldings on the shank of the hook seem to keep the slug in place. If you were preparing these at home it may be worth doing but I tend to keep the slugs whole and only rig them when needed on the rocks.
 To give a slug life is an artform on its own and one that I am still learning. There are many good videos on youtube which will show you the methods used. some of them show the lure working but they do not show how the angler is moving the rod to get results. I like to take any new baits to a big rockpool on one of my local marks and watch what the lure does when move the rod tip or wind in. in this way you can see what is most effective.
Probably the most simple rig and one that I have found most effective this year is the weedless Texas Rig. This requires a drilled lead, preferably a cone lead, a bead, a hook and your chosen lure. 
Left is the cone lead, the concave base allows the buffer bead or worm to sit flush with the back of the lead. Second from left- in many places cone leads are only available mail order and to make do I have been sawing easily available barrel leads in half and filing down any nasty edges. The drilled bullets may be pressed into service if cone weights are not available. I believe the bullets would face more scrutiny from your fellow anglers than the fish but their larger profile could possibly be more prone to snagging.

Above you can clearly see the difference between a standard 3/0 (left) and an offset extra wide gape (ewg) worm hook of the same size. The crank in the shaft holds the head of the lure in place while allowing the barb to be hidden within the lure and still present a straight bait.

Rigging really is this simple. Slide on the lead then the bead if you are using one. I have seen glass bead being used so that the lead makes a noise when the two clash together during the retrieve, however the primary importance of the bead is to act as a buffer to protect the knot. tie the hook on with a suitable knot and you are ready to rig the worm.

Pierce the ‘head’ of the worm and bring the hook back out at a distance equal to slightly longer the crank in the shaft of the hook. I like to allow the worm to cover the knot and a small tag of line helps hold the worm in place.

Using the method to determine where the hook should enter the body push the point and barb into the worm but not out of the other side. this may sound alien as we generally leave the barb unmasked for better hook-ups but these style of hooks will be driven into the fishes jaw as it takes the lure and all the time it is inside the lure body it is less likely to snag or catch on weed. It is important that the body of the lure be presented as straight as possible unless a spiralling retrieve is desired.


ラッシュtシャツ
Hi, Thanks great info!
Where do you pick up your tackle?